Thursday 20 November 2014

Ready To Eat Indian Food Indian Food Recipes Images Thali Menu Photography Calorie Chart Items Pictures Photos

Ready To Eat Indian Food Biography

source link (google.com.pk)

This creamy corn soup with vegetables is a great starter for a summer lunch. Served hot or cold.
Serves 4.
Ingredients:
2 1/4 cups corn
1 medium tomato
About 1 cup finely chopped cabbage
8 to 10 string beans
1 small carrot
1 tablespoon cornstarch
1 teaspoon oil
1/2 teaspoon cumin seeds (jeera)
1/2 teaspoon black pepper
1 teaspoon salt (adjust to taste)
1 teaspoon lemon juice (adjust to taste)

Method
Chop cabbage, carrot, and string beans into very small pieces.
Chop tomato in small pieces and remove the seeds. Set aside.
Boil the corn in about 1-1/2 cups of water until the corn is soft. Remove 1/4 cup of corn and set aside.
Blend the rest of the corn into a paste and strain.
Mix the cornstarch with 1/4 cup of water and set aside.
Heat the oil in a saucepan. Test the heat by adding one cumin seed to the oil; if seed cracks right away oil is ready.
Now add the cumin seeds. After the cumin seeds crack, add the carrot, cabbage, beans and 1/4 cup of water. Cook the vegetables on medium heat until they are tender.
Next, add the corn paste, corn, cornstarch mixture, and three cups of water to the vegetables. Bring the soup to a boil and lower the heat to medium low. Let the soup cook for another five minutes. Add the lemon juice and serve.
Suggestions
Corn soup can be refrigerated for about a week and can be frozen for months. If you have decided to freeze or refrigerate the soup hold the three cups of water you were adding. Add the water at the time ready to use the soup.

This fresh cucumber salad is easy to prepare. The dressing is creamy, and a touch of fennel seeds adds a unique flavor. This refreshing, healthful low-calorie salad also looks beautiful.
Recipe serves 2.
Cucumber Salad Recipe by ManjulaIngredients:
2 cup cucumber, thinly sliced
2 tablespoons cashews coarsely ground
1 tablespoon mint finely chopped
for Dressing
1 tablespoon olive oil
2 teaspoon lemon juice
½ teaspoon salt
½ teaspoon sugar
1/8 teaspoon black paper
2 teaspoon ginger juice *
1 teaspoon fennel seeds coarsely ground

Method
Dressing; In a bowl, mix all the dressing ingredients well. Set aside.
Peel the cucumber, leaving strips of skin. Slice thin, crosswise. The slices should look like half-moons.
Toss the cucumber with ground cashews and mint to coat the slices.
Just before serving, add the dressing. Mix it well.
Enjoy!
Notes
To make the ginger juice, shred the ginger using a fine shredder or zester. Squeeze the shredded ginger with your fingers to get all
the juice out.
If you are allergic to nuts make the salad without cashews, still Cucumber Salad with taste great.

This is a bright, colorful, and refreshing fruit chaat (snack) that can also be used as a fruit salad. My siblings and I looked forward to the fruit chaat, served regularly as part of our lunch.  It was a delicious way of eating a great variety of fresh, seasonal fruit.  This by itself will brighten up any meal, and it tastes great at any time of day.
Recipe will serve 4.
Ingredients
2 oranges skin removed and sliced in ½ inch each segment
1 apple peeled and cubed into ½ inch pieces
1 firm banana sliced into approximately ¼ inch rounds
1/2 cup sliced strawberries
1 cup English or Asian cucumber cubed into ¼ inch pieces
1 green chili finely chopped (optional)
1 tablespoon chopped cilantro
Dressing
Approximately 1 tablespoon lemon juice
Approximately 1 tablespoon ginger juice
1/2 teaspoon roasted cumin seeds powder
1 tablespoon sugar
1 teaspoon salt
½ teaspoon black salt (optional) available in Indian grocery store
¼ teaspoon black pepper

Method
In a large bowl, combine the fruit and cucumber with the green chili and cilantro. Toss and set asidea .
Mix all the dressing ingredients together in a small bowl, making sure the sugar is completely dissolved. Pour the dressing over the fruit when ready to serve.
Tips
I have used many different varieties of fruits in this chaat dish; however, I always keep the oranges and bananas, as they add a lot of color and texture to the dish.

Ready To Eat Indian Food Indian Food Recipes Images Thali Menu Photography Calorie Chart Items Pictures Photos

Ready To Eat Indian Food Indian Food Recipes Images Thali Menu Photography Calorie Chart Items Pictures Photos

Ready To Eat Indian Food Indian Food Recipes Images Thali Menu Photography Calorie Chart Items Pictures Photos

Ready To Eat Indian Food Indian Food Recipes Images Thali Menu Photography Calorie Chart Items Pictures Photos

Ready To Eat Indian Food Indian Food Recipes Images Thali Menu Photography Calorie Chart Items Pictures Photos

Ready To Eat Indian Food Indian Food Recipes Images Thali Menu Photography Calorie Chart Items Pictures Photos

Ready To Eat Indian Food Indian Food Recipes Images Thali Menu Photography Calorie Chart Items Pictures Photos

Ready To Eat Indian Food Indian Food Recipes Images Thali Menu Photography Calorie Chart Items Pictures Photos

Ready To Eat Indian Food Indian Food Recipes Images Thali Menu Photography Calorie Chart Items Pictures Photos

Ready To Eat Indian Food Indian Food Recipes Images Thali Menu Photography Calorie Chart Items Pictures Photos

Ready To Eat Indian Food Indian Food Recipes Images Thali Menu Photography Calorie Chart Items Pictures Photos

South Indian Food Recipe Indian Food Recipes Images Thali Menu Photography Calorie Chart Items Pictures Photos

South Indian Food Recipe Biography

source link (google.com.pk)

Mirchi Vada, or Mirchi Bhaji, is a popular Rajasthani snack. This dish of green chilies filled with spicy potatoes, dipped in batter and fried, makes a mouthwatering snack for people who love hot, spicy food.
makes 8.
Ingredients:
8 green chillies (I use yellow chilli peppers)
For Filling
1 cup potatoes boiled peeled and mashed
1/2 teaspoon salt
1/4 teaspoon cumin seeds (jeera)
1 teaspoon coriander powder (dhania)
1/4 teaspoon mango powder (amchoor)
1 tablespoon chopped cilantro (hara dhania)
1/4 teaspoon chilli powder (lal mirch), (optional)
For Batter
1/2 cup Besan (gram flour), (available in Indian grocery stores)
1/4 teaspoon salt
1/4 teaspoon cumin seeds (jeera)
1/8 tablespoon baking powder
1 tablespoon cilantro chopped (hara dhania)
Approx. ¼ cup water
Also need oil to deep fry

Method
Vertically slit the chili and remove the seeds,.but not the stems. Set aside.
Mix all the filling ingredients together and set aside.
To make the vada batter, mix all the dry ingredients together: Besan, cumin seeds, baking powder and salt. Add the water slowly to make thick smooth batter, the consistency of pancake batter.
 Add cilantro and mix it well.
Stuff the chilies with potato mix.
Heat one inch of oil in a frying pan over medium heat. To test, put one drop of batter in the oil. The batter should form a small ball on the surface of the pan, but not change color right away.
Dip the filled chilies in the batter one at a time, making sure each is covered with batter all around. Drop slowly into the frying pan.
Fry the mirchi vada until all sides are golden brown, four to five minutes, turning occasionally. Take them out and place them on a paper towel.
Vadas are best served hot. Serve them  Tamarind Chutney.
 Suggestion
You can prepare the Mirchi Vadas in advance, and heat them in a 300°F oven before serving.
The left over makes great sandwiches.

Moong Dal Vadas are also known as pakoras, bhajias or fritters. This is a spicy delicious snack crispy outside and soft inside. Moong dal vada is a popular tasty treat.

Recipe will make 24 Vadas.
Ingredients:
1 cup split wash moong dal (available in Indian grocery stores)
1 cup potatoes boiled peeled and shredded
Approx. 2 tablespoon finely chopped cilantro (hara dhania)
1 green chili minced adjust to taste
1 tablespoon finely grated ginger
1 teaspoon cumin seeds (jeera)
1/8 teaspoon asafetida (hing)
1/8 teaspoon of baking soda
1 teaspoon salt adjust to taste
Oil to fry

Method
Wash and soak dal in about 3 cups of water for four hours or longer.
Grind dal coarsely using very little water.
Add all the ingredients to the dal batter, potatoes, cilantro, green chili, ginger, cumin seeds, asafetida and salt, beat the batter for 2-3 minutes this will make the batter light. Add the water if needed, batter should be soft. If batter is too thick Vadas will be hard.
Heat the oil in a frying pan on medium high heat.
The frying pan should have about 1 inch of oil. To check if the oil is ready, put one drop of batter in oil. The batter should sizzle and come up but not change color right away. If oil is very hot vadas will not cook through and will not be crispy.
Place about 1 tablespoon of batter into the oil. Fry the vada in small batches. Fry vadas until golden-brown all around.
Moong Dal Vada should be crispy from outside and should be soft inside.
Serve them with Hari Cilantro Chutney.

Muthias are steamed spiced dumplings, made with gramflour (besan), cabbage, and spices. They make a tasty appetizer or snack.
Serves 4.

MuthiaIngredients:
Muthia:
1/2 teaspoon sugar
1/8 teaspoon citric acid
4 cups very fine shredded cabbage
1 cup gram flour (basen) (available in Indian grocery stores)
2 tablespoons whole wheat flour
2 tablespoons chopped fenugreek leaves (can be substitute with 2 tablespoons of dry fenugreek leaves or kastoori mathi) fenugreek can also be replaced with chopped cilantro (hara dhania)
2 chopped green chili (adjust to taste)
1 teaspoon cumin seed (jeera)
1/2 teaspoon turmeric (haldi)
1 teaspoon salt (adjust to taste)
2 tablespoons oil
For Seasoning and Garnish:
2 tablespoon oil
1/2 teaspoon mustard seeds
1 tablespoon sesame seeds (til)
4 whole red chili
2 tablespoon chopped cilantro (hara dhania)

Method:
Combine gram flour, whole wheat flour, fenugreek, cumin seed, turmeric, green chili, sugar, citric acid, oil, and salt in a bowl.
Add the cabbage to the flour mixture and mix well to make soft dough. Add water if needed .
Grease your fingers and divide the mixture into 14 pieces. Drop slowly onto the steamer and steam, covered, 18 to 20 minutes. Test by inserting a knife; blade should come out clean.
Let the muthias cool.  Cut each one into two pieces off and then slice them in two pieces.
seasoning
Heat the oil in the frying pan over medium high heat. Add the mustard seeds. Once they crack, add the sesame seeds and red chili and stir-fry the mixture a few seconds.
Add muthias and stir-fry them for three  to four minutes until they are light brown.Garnish them with chopped cilantro.
Serve them hot or at room temperature.
Notes:
Steam immediately after preparing the mixture. If you allow it to sit, it will be too soft. If you have more than one batch, hold the salt and add it one batch at a time or it will be too soft.
Muthias can be refrigerated for 3 to 4 days.
Muthias can be frozen before seasoning. When ready to serve, thaw the frozen muthias and season them.
Variation:
You can substitute zucchini or bottled gourd (also known as doodhi, loki or ghia) for the cabbage. Because theses vegetables have more water content, after shredding lightly squeeze them between your palms to remove the excess water before making the mixture.
Serving suggestions:
Muthias are great with cilantro chutney.
Muthias can be served just after steaming, but before seasoning, with cilantro chutney.

South Indian Food Recipe Indian Food Recipes Images Thali Menu Photography Calorie Chart Items Pictures Photos

South Indian Food Recipe Indian Food Recipes Images Thali Menu Photography Calorie Chart Items Pictures Photos

South Indian Food Recipe Indian Food Recipes Images Thali Menu Photography Calorie Chart Items Pictures Photos

South Indian Food Recipe Indian Food Recipes Images Thali Menu Photography Calorie Chart Items Pictures Photos

South Indian Food Recipe Indian Food Recipes Images Thali Menu Photography Calorie Chart Items Pictures Photos

South Indian Food Recipe Indian Food Recipes Images Thali Menu Photography Calorie Chart Items Pictures Photos

South Indian Food Recipe Indian Food Recipes Images Thali Menu Photography Calorie Chart Items Pictures Photos

South Indian Food Recipe Indian Food Recipes Images Thali Menu Photography Calorie Chart Items Pictures Photos

South Indian Food Recipe Indian Food Recipes Images Thali Menu Photography Calorie Chart Items Pictures Photos

South Indian Food Recipe Indian Food Recipes Images Thali Menu Photography Calorie Chart Items Pictures Photos

South Indian Food Recipe Indian Food Recipes Images Thali Menu Photography Calorie Chart Items Pictures Photos

History Of Indian Food Indian Food Recipes Images Thali Menu Photography Calorie Chart Items Pictures Photos

History Of Indian Food Biography

source link (google.com.pk)
1. History of Indian Food – Introduction

Once considered the shining jewel in the British Empire’s crown, India can today be easily deemed as the huge, 60-carat diamond in the World’s flavored cuisine ring. The large variety of dishes, appetizers, snacks, side dishes and desserts have found numerous fans on an international scale, as Indian restaurants spread at an incredible rate, with an enormous success in every possible culture and in every possible corner of the World. Combining all tastes possible, the Indian cuisine is bound to satisfy spice-lovers, “salty” people and persons with a sweet tooth alike (although the latter will feel right at home, since India is a “sweet” country).

Some say that the Indian cuisine is almost as diverse as the entire European cuisine, because of the four different main regional styles: the North Indian cuisine (the regions Benaras, Kashmir, Mughlai, Punjab and Rajasthan), the South Indian cuisine (regions Andhra, Kannada, Kerala and Tamil), East Indian cuisine (regions Assamese and Bengali) and Western Indian cuisine (regions Gujarat, Maharashtrian and Malwani). The northern part of India is mostly rural, although it contains large cities such as Delphi or Calcutta, thus its cuisine is more agricultural than anything, wheat being a primary constituent of this region’s dishes. Southern regions however tend to be more exotic, more spicy in their dishes and rice is a constant ingredient in their food. To give the taste of their main dishes, North Indians use onions and coriander whilst southerners use a more exotic coconut base for their dishes.

The history of Indian food tells us that during the reign of the British Empire in India (the British Raj), the local cuisine was considered by the Europeans closely to what Gods taught of ambrosia: a delightful, heavenly and delicate dish. Many times, we ask how the Indian cuisine grew to be so popular, so diverse and so delightful. In truth, the question is quite dim…from a population of one billion people, is it really that hard to believe some of them are great cooks?…

But let’s take a closer look at what Indian dishes and snacks have to offer, providing a history of Indian food and a few related legends alongside. Ready your taste buds, because it’s going to be one juicy ride!

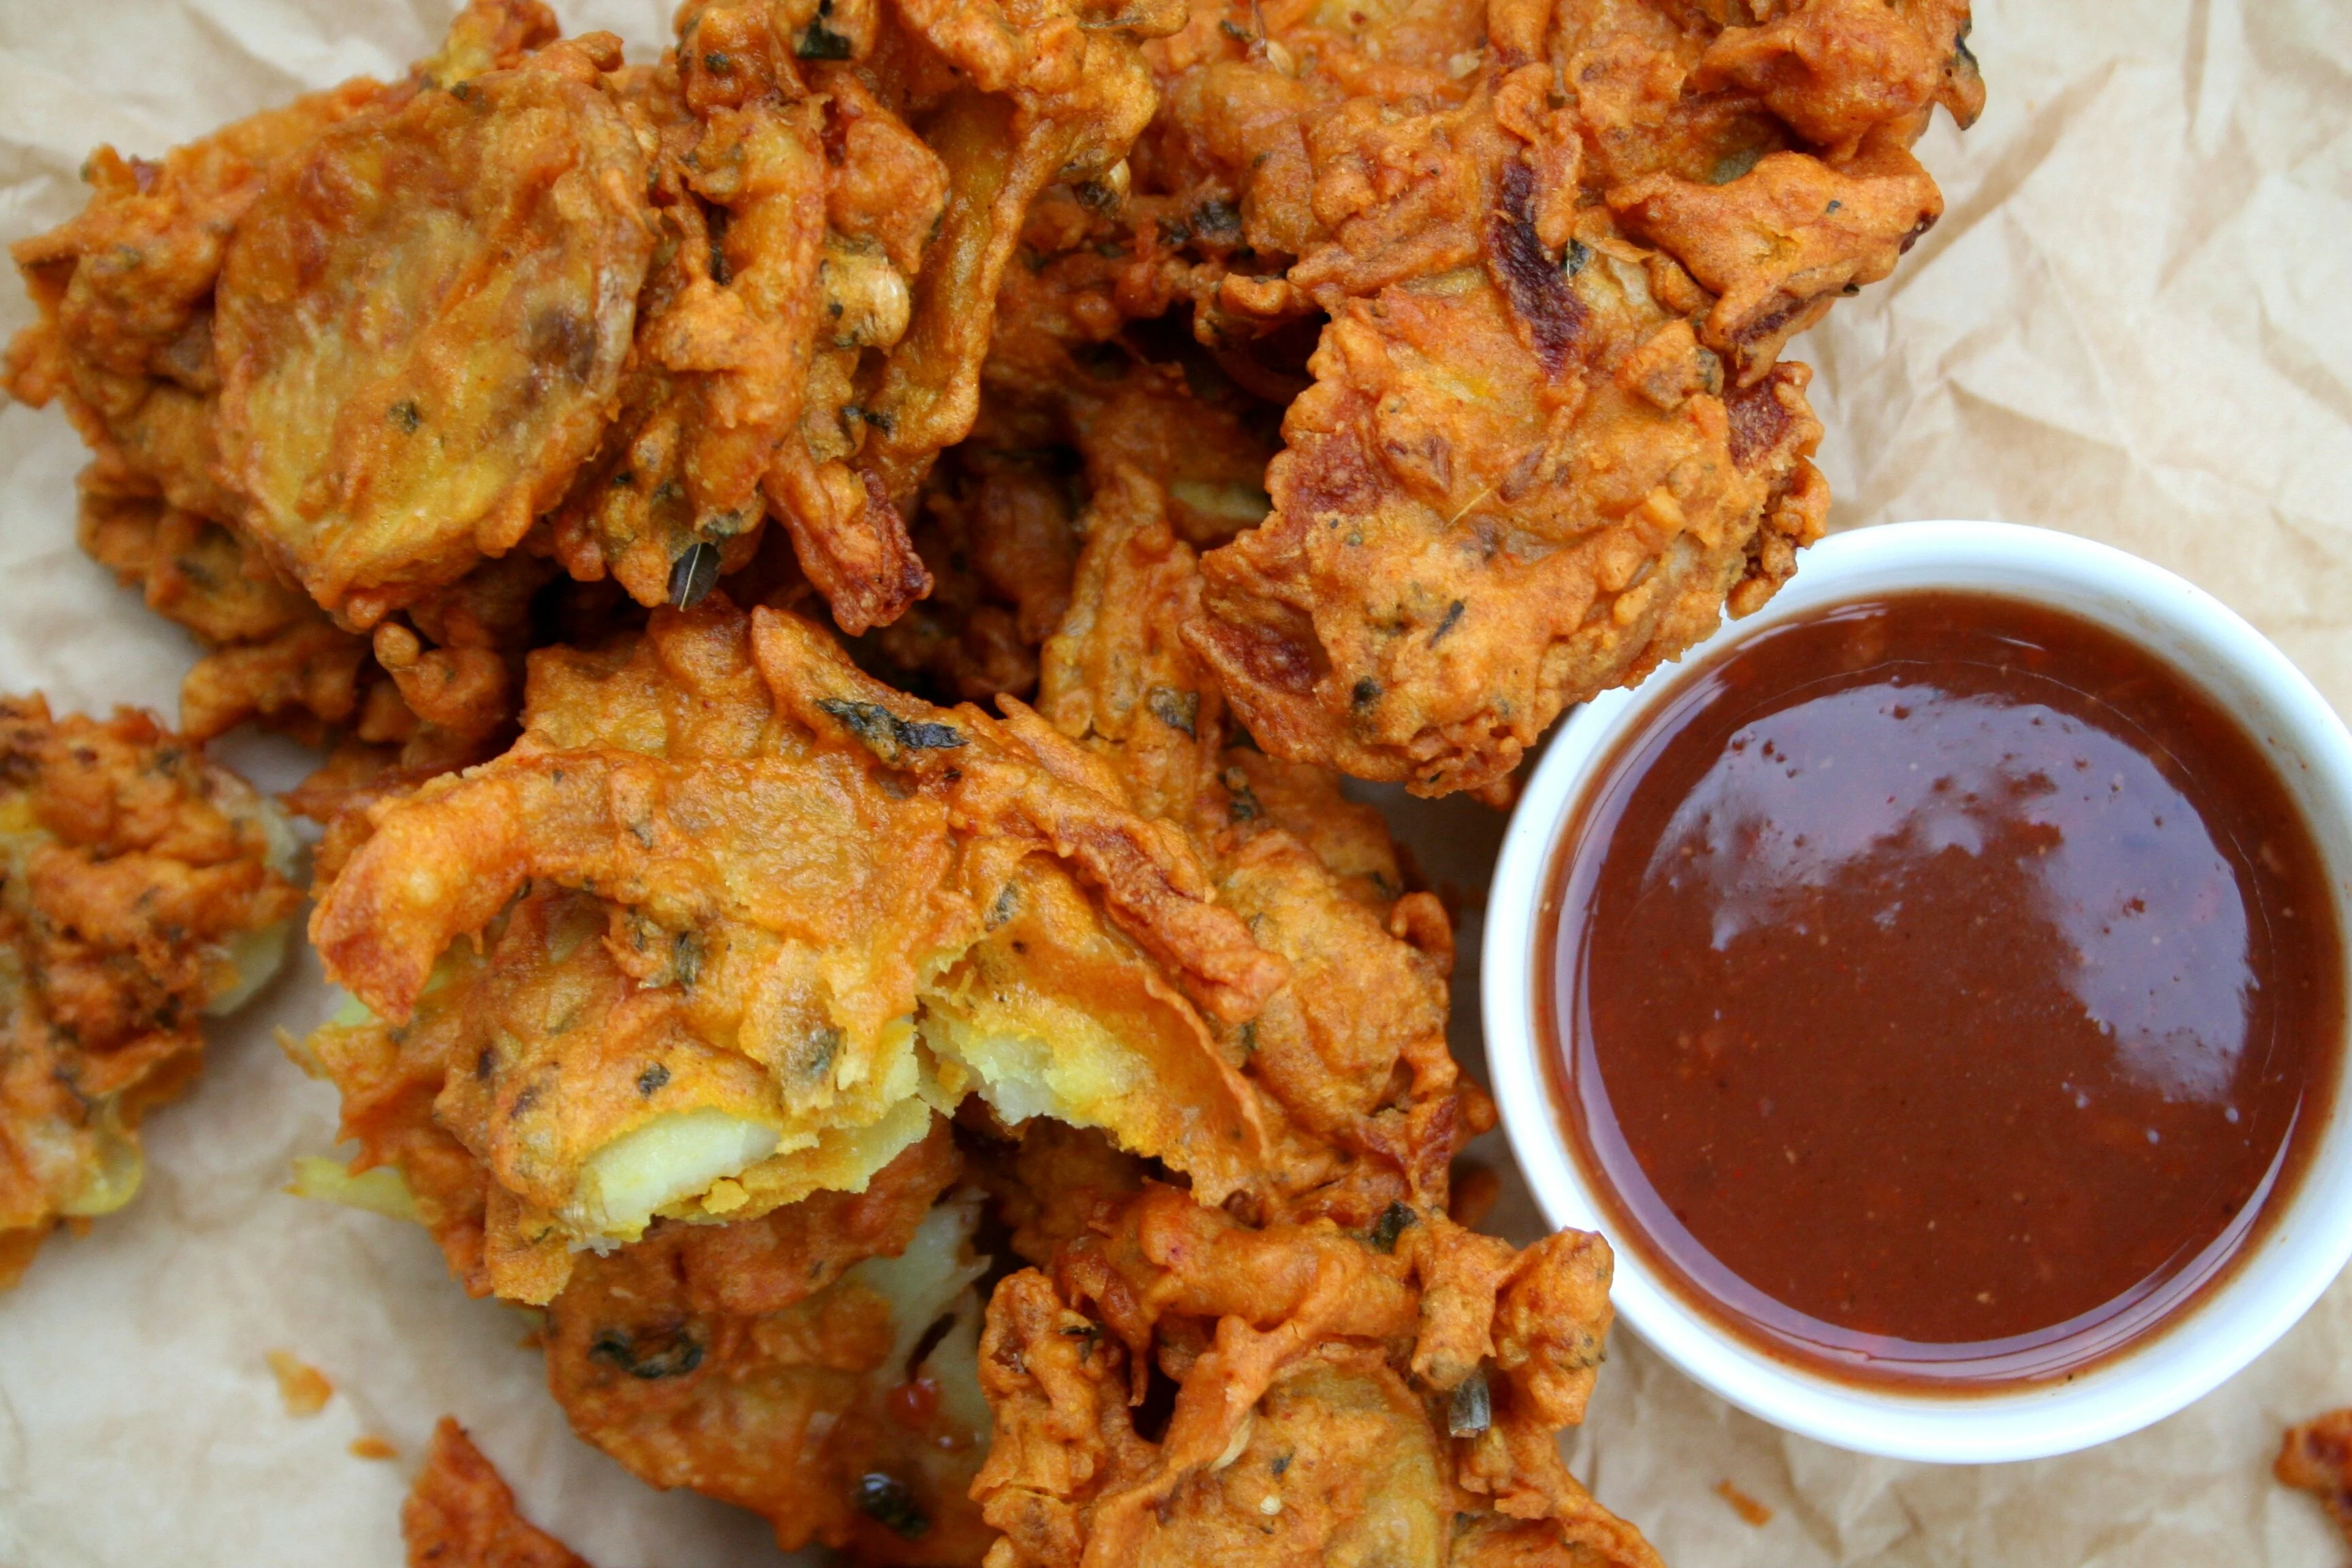
2. History of Indian Food - Indian Appetizers and Snacks

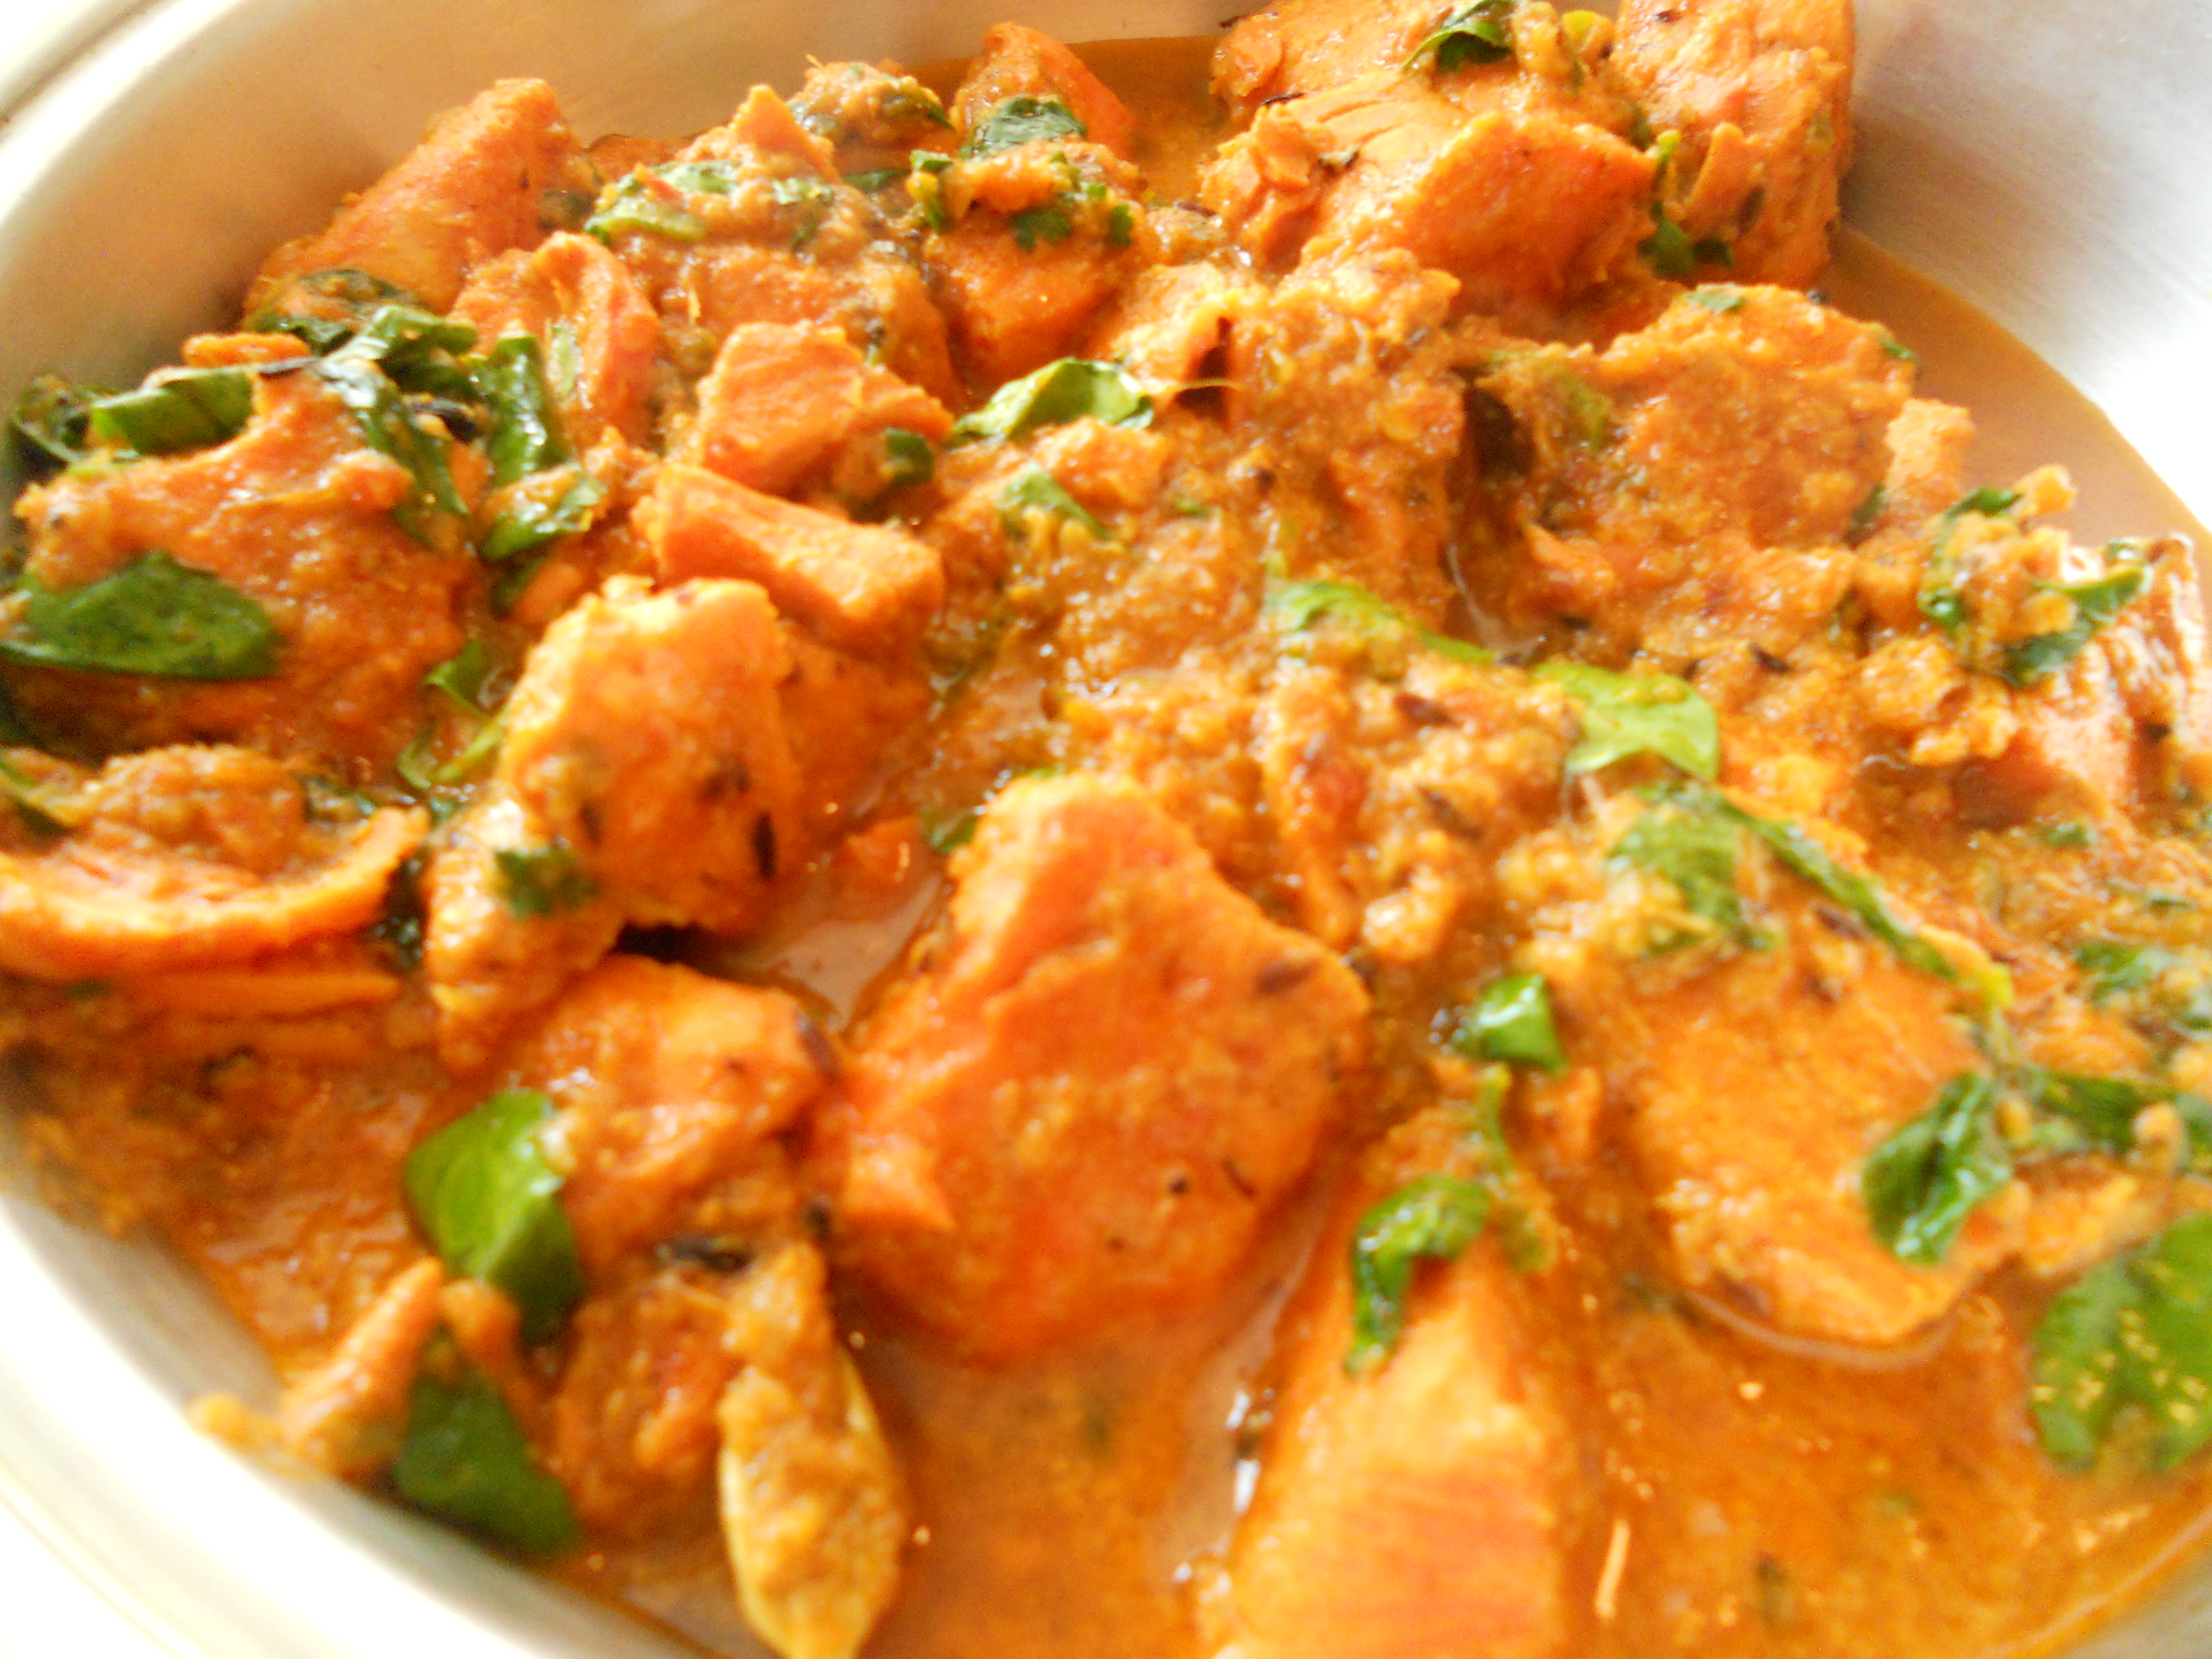
The history of Indian food and especially of Indian appetizers is closely related to the country’s culture and traditions. The Indian cuisine is as diverse as the Indian people and it has a large (and extremely rich) selection of appetizers, hors d'oeuvres, and snacks. Besides being extremely tasty and actually stimulating your appetite rather than diminishing it like some other cuisines’ appetizers, these fast snacks are also quite low in fat, since they are based on a number of spices and herbs, such as ginger, cinnamon, garlic, cloves, asafetida, aniseed or coriander, rather that the fat appetizers you’ll find mostly anywhere else in the World.

The majority of Indian appetizers and snacks are based on potatoes, combined with different spices. The Alu Ki Tikki for example, which is one of the oldest snacks recorded by the history of Indian food, is made out of mashed potatoes coriander and onions. Another snack greatly enjoyed by the British during the Raj period, the Samosa appetizer, made out of steamed potatoes, peas and vegetables, is one of the many Indian recipes that was passed on from ancient times.

Although most appetizers and snacks usually follow the same ingredients for each particular recipe, it should be noted that authentic Indian dishes can never be limited to a strict formula, since they differ from household to household. For example if you go to the North, in Punjab for instance and try out a Dahi Barra yogurt and fritter appetizer, it will definitely taste and even look slightly different than a similar Dahi Barra appetizer dish in Southern India’s Tamil region.

Because of this, when the British armies set foot in India, their cooks were dazzled by the sheer number of variations of the same dish. One legend stands out of the crowd from the history of Indian food, namely that of the British cook William Harold. William was quite an experienced chef, working for a rather successful restaurant in central London, when he was sent to India to help the war effort with his meals. Because his dishes were so delightfully well done, he was promoted to be the personal cook of a high ranking officer in the British Empire’s Army. One day, the officer ordered William to get the recipe for a local dish he ate and thoroughly enjoyed that day, named by the locals Bhel Puri, in order to mass-cook it for the troops.

Because there were very few written recipes in India back then (locals were passing on their cuisine with each generation, usually orally) William started walking from home to home, knocking from door to door, in order to find the recipe for the Bhel Puri, which, even today, is quite a complicated appetizer. With every house he went to, he got another recipe, another kind of spice to put on top of the potatoes and rice (seemingly the only ingredients that remained constant in the dish) and another kind of oil to use.

After a long day of inquiries in which the poor cook was unable to find a stable recipe for the wonderful snack, he returned to the barracks, beaten and amazed by the variety of semi-recipes he managed to pile up. Seeing that he is back, the officer asked if he could serve the first portion of Bhel Puri that night, but William told him he couldn’t get any real recipe in his hands and ironically stated that “we’ll have to stick to French fries again tonight, Sir!”. Legend says that the officer, berserk with fury, took out his handgun and shot the cook dead, causing a mutiny amongst the barrack’s soldiers, who were both fed up with the officer’s cruel and disrespectful ways and in love with William’s heavenly cooking. That’s how a small bowl of Bhel Puri (or should I say the lack of it) shook an entire British barracks and caused a long night in the Court Martial offices…

All legends aside, we now know an approximate recipe to the Bhel Puri (somehow thanks to poor William too). The tasty Indian snack is made out of crispy puris, puffed rice, Indian sevs, chilli powder, potatoes, red onion, chat masala, coriander and lemon or mango juice. It comes in two dish “versions”, spicy or sweet. The spicy chutney includes garlic cloves, mint leaves, salt and green chilies, while the sweet chutney’s ingredients are cumin seeds, jaggery, sugar, tamarind pulp and boiled dates pulp.

3. History of Indian Food – Indian Sweets

Indian cuisine is known throughout the entire World as a sweet cuisine and this tag doesn’t come along without some extremely solid arguments. How else would you call a country’s cuisine if almost half its dishes are either sweets or desserts? Actually, Indian sweets have not only made Indian food famous throughout history, but they have been acquired and accommodated to European and North American dishes, finding great success in fancy “Baltic” restaurants through-out England, France, the United States or Spain.

The Rasgulla for example, one of the most popular relished sweetmeats in India, originating from the Eastern part of the country, has an interesting modern history. This dish produced by the boiling of small pops of casein in sugar syrup has become emblematic of the quintessentially effeminate stuff of ridicule of the Bengali people. This sweet dessert can be found in almost all Eastern Indian households, while global malls sell it like there’s no tomorrow.

Another Indian dessert that blends with the Hindu culture is the Payasam (or Kheer as it is called by the Hindi). This dessert has been an essential dish throughout the history of India, being usually found at ceremonies, feasts and celebrations. In Southern India, ancient traditions tell that a wedding is not fully blessed if Payasam is not served at the wedding feast, this tradition being kept alive with each generation, still being practiced by newly wedded couples, mostly in the southern regions, from where the tradition started in the first place.

The best and most popular Payasam dishes are found in the temples of Guruvayoor and Ambalappuzha. In the Ambalappuzha temple, Payasam is served as part of a tradition, based on an ancient legend. The legend states that Lord Krishna (the eight avatar of Vishnu, playing a major role in the Hindu religion) took the form of an old sage and challenged the great king who ruled over that region to a game of chess. Being a true chess player and a master of the mind game’s tricks, the king gladly accepted the sage’s invitation. Asking what the sage wanted in case he wins the game, the king remained bedazzled by the sage’s request: an amount of rice grains for each square of the chess board, each pile having double the number of grains than the previous pile. So the first square would have only one grain of rice, the second would have 2 grains, the third would have 4 grains, the fourth would have 8 rice grains and so on, each pile growing at a geometrical progression from the past pile of rice grains. Hearing this request, the king was shocked that the sage wanted only what he taught were a few piles of grain, when he could have betted for his whole kingdom or the immense riches that he held.

Naturally the king lost, (because playing chess against a God is not that easy, mind you) so he started placing grain piles on each square, starting with only one grain. He soon realized that the sage’s demand was not entirely what he thought of, when the number reached one million grains of rice by the 20th square. By the 40th or so square, the entire kingdom’s rice reserve was depleted and when he got to the last square he calculated that he would have to pay the sage 18,447,744 trillions of tons of rice, which he could have never paid off. The sage then revealed his true form, that of Lord Krishna, and said that the debt does not have to be paid immediately, but the king will have to serve Payasam freely in the temple of Ambalappuzha, to pilgrims, homeless or whoever comes there for peace of mind and prayer or for those seeking shelter. This is how the Payasam became famous, integrating in the Hindu culture. The tradition of freely serving Payasam in Ambalappuzha still lives today and pilgrims all over India have an easier ride knowing that a hot bowl of the sweet dessert awaits them at the end of their journey.

Western India also does a great job on satisfying the sweet tooth of its inhabitants, with one of the most delicious desserts you will be able to find throughout the history of Indian food: the Shrikhand. The Shrikhand is a creamy dessert made out of strained yogurt, from which all water is drained off, leaving the thick yogurt cream by itself. Adding exotic dry fruits like mangos only enhances the Shrikhand’s delightful taste to newer limits. This great dessert is one of Western India’s most popular traditional dishes, since it has ancient roots in the Indian cuisine. Comparisons of this dessert to the Indian people have stated that Indians are a people who like to extract the best of things from everything, leaving everything else behind, their true and hospitable nature being a result of the fact that they dry out every spiritual detail that has no substance or meaning.

Other important traditional Indian sweets and desserts, famous throughout the history of Indian food, include the following: Gulab Jamun (a popular Indian dessert made out of fried milk balls in sweet syrup), Mysore Pak (a delicious dessert made out of ghee, sugar and chick pea flour), Halwa (or Halva in modern English spelling; made out of semolina and sugar, the Halwa is one of the most popular Indian desserts that have spread in every corner of the World), the Kulfi (often referred to as Indian ice cream, the Kulfi is made out of boiled milk and a wide variety of mango, kesar or cardamom flavors), the Jalebi (a common sweet dish from North India, the Jalebi is basically a pretzel-shaped fried batter, which is soaked in syrup) and the Jangiri (the South Indian look-alike of the North Indian Jalebi).
4. History of Indian Food – Conclusion

As we can easily conclude, the Indian cuisine is closely related to the Indian history, each historical region developing a unique set of dishes, using diverse ingredients. However, a constant remains for all regions: the affinity for sweet desserts and spicy snacks. Besides being closely related to history, Indian cuisine is also strongly influenced by the Indian religion, Indian culture and traditions and the Indian people themselves.

If you can appreciate the facts behind the history of Indian food, the setting in which this great country’s cuisine was formed, the influences it took and the diversity it created, then you will surely appreciate one of their sweet desserts or one of their spicy snacks and appetizers. No other country has a wider selection of exotic dishes and no other country can offer such a large variety of impulses for your taste buds.

History Of Indian Food Indian Food Recipes Images Thali Menu Photography Calorie Chart Items Pictures Photos

History Of Indian Food Indian Food Recipes Images Thali Menu Photography Calorie Chart Items Pictures Photos

History Of Indian Food Indian Food Recipes Images Thali Menu Photography Calorie Chart Items Pictures Photos

History Of Indian Food Indian Food Recipes Images Thali Menu Photography Calorie Chart Items Pictures Photos

History Of Indian Food Indian Food Recipes Images Thali Menu Photography Calorie Chart Items Pictures Photos

History Of Indian Food Indian Food Recipes Images Thali Menu Photography Calorie Chart Items Pictures Photos

History Of Indian Food Indian Food Recipes Images Thali Menu Photography Calorie Chart Items Pictures Photos

History Of Indian Food Indian Food Recipes Images Thali Menu Photography Calorie Chart Items Pictures Photos

History Of Indian Food Indian Food Recipes Images Thali Menu Photography Calorie Chart Items Pictures Photos

History Of Indian Food Indian Food Recipes Images Thali Menu Photography Calorie Chart Items Pictures Photos

History Of Indian Food Indian Food Recipes Images Thali Menu Photography Calorie Chart Items Pictures Photos

South Indian Food Recipes In Tamil Indian Food Recipes Images Thali Menu Photography Calorie Chart Items Pictures Photos

South Indian Food Recipes In Tamil Biography

source link (google.com.pk)
Tamil recipes for Dosai, idli, Poori to Fish, Mutton, chicken, Biryani varieties. Spicy, tasty, delicious, and hot Tamil recipes from the South Indian group of Dravidians. There is an ongoing discussion and argument about whose language and culture are foremost among the peoples of Tamilnadu, Kerala, Karnataka and Andhra states. We will leave it at that because once upon a time about two millennia, they were all brothers from one family according to legends and epics like Mahabharata.


There is of course recorded history about the Dravidian people. Now the Tamils are all over the world. A good number of them live in South India, north Srilanka, Malaysia, Singapore, Mauritius, and Fiji and in Caribbean islands too.

The three royal dynasties from brothers called the Cholas, Pandyas and Cheras date back to the third century AD.

History of Tamil Recipes

tamil samayal curry
tamil samayal curry

The history of Tamil recipes and food of South Indian cuisine is of much importance but not our focus today. The popular view in the west was that Indians do not know when their next meal would come. But India has far advanced today and what the west thought of it as an impoverished hungry continent is no longer valid.Food is available every where in India in plenty; and is very easily affordable. Food is also reasonably priced in India; it is the housing that is expensive.

Madurai is the center of Tamilnadu for culture and language. Tamil Sangam in Madurai is a center for Tamil literature. This goes back to the 6th century AD. Tamil recipes for idli and dosai have been mentioned as far back as the 5th century AD.
The Tamil idli is said to have been derived from two words, for spread and boil. ‘Itu’ means lay or spread or pour and ‘avi’ means to boil, so pour and boil is how idli is made and is appropriately named.

The word idli was mentioned in 920 AD, and there is even a description about the recipe. It is of course rather unlike ours today, as it seems to have been made of urad dal fermented with no rice flour at all; and more over seems to have been soaked in butter milk rather than water. There was also a mix of spices like cilantro, cumin, perungayam and pepper in it. So it has undergone a great make over today.

tamil recipe idli
tamil recipe idli

Dosai and vadai are mentioned too, seems like they also have been around for two thousand years in Tamil culture and food. Tamil recipes are not new but ancient and they have been modified a few times to what they are today.

tamil cooking dosai
dosai

The Staple Food of Tamil Cooking Is Rice

The Tamils love their rice. Rice is an important staple food for lunch for many. And it is not surprising that even the most popular and loved breakfast items have as their main component rice. Idli, Dosa, Idyappam and appam are all made from rice flour.

White rice in Tamilnadu is not eaten plain like the rest of the world does. Most Asians like the Japanese, Chinese, Koreans and others can eat white rice just plain. But not the south Indian. He needs to have some kind of sauce called curry to pour on it to mix and then it with his fingers.

That’s the best part. Use the fingers! Why? Because it is tasty when you touch food, tongue and the skin of your fingers. There is magic in taste when you do that compared to a spoon or a fork. More ever traditional Tamil food is served on a banana leaf which adds great flavor to any food served hot on it.

Vegetarian Cuisine

Many Tamils are vegetarian by birth, the idea of vegans and vegetarian in the west is entirely different. The vegetarian diet of a south Indian is packed with spices. It is spicy and hot and is not easily palatable by a western tongue. The basic ingredients in many Tamil recipes are chili, garlic, ginger and usually mixed in with red small onions.The usual vegetarian curry diet of a Tamil is sambar, rasam or puli kulombu. The side dishes used are also spiced up with red chili and onions.

Though they are spicy they are very tasty for us but are full of carbohydrates. Very little fat is in the diet though protein is in abundance through the variety of pulses and dal used. Nuts are also part of the snacks especially peanuts.

South Indian Food Recipes In Tamil Indian Food Recipes Images Thali Menu Photography Calorie Chart Items Pictures Photos

South Indian Food Recipes In Tamil Indian Food Recipes Images Thali Menu Photography Calorie Chart Items Pictures Photos

South Indian Food Recipes In Tamil Indian Food Recipes Images Thali Menu Photography Calorie Chart Items Pictures Photos

South Indian Food Recipes In Tamil Indian Food Recipes Images Thali Menu Photography Calorie Chart Items Pictures Photos

South Indian Food Recipes In Tamil Indian Food Recipes Images Thali Menu Photography Calorie Chart Items Pictures Photos

South Indian Food Recipes In Tamil Indian Food Recipes Images Thali Menu Photography Calorie Chart Items Pictures Photos

South Indian Food Recipes In Tamil Indian Food Recipes Images Thali Menu Photography Calorie Chart Items Pictures Photos

South Indian Food Recipes In Tamil Indian Food Recipes Images Thali Menu Photography Calorie Chart Items Pictures Photos

South Indian Food Recipes In Tamil Indian Food Recipes Images Thali Menu Photography Calorie Chart Items Pictures Photos

South Indian Food Recipes In Tamil Indian Food Recipes Images Thali Menu Photography Calorie Chart Items Pictures Photos

South Indian Food Recipes In Tamil Indian Food Recipes Images Thali Menu Photography Calorie Chart Items Pictures Photos

Images Of Indian Food Indian Food Recipes Images Thali Menu Photography Calorie Chart Items Pictures Photos

Images Of Indian Food Biography

source link (google.com.pk)

Achari Paneer is flavorful, healthy and high in protein.  Paneer is an Indian cheese, also known as chenna.  Achari paneer is very versatile and can be served as an appetizer or as an accompaniment to a main course.
 This recipe will serve 8.
Ingredients
14oz paneer cut in ½ inch cubes (paneer you can find in Indian grocery store)
1 teaspoon salt
1/8 teaspoon turmeric (haldi)
1/4 cup yogurt (dahi)
2 tablespoons olive oil
4 whole red chilies Sabut lal mirch)
Pinch of asafetida (hing)
1/4 teaspoon nigella (onion seeds or kalonji)
1 teaspoons coriander seeds (dhania)
1/4 teaspoon fenugreek seeds (mathi)
1/2 teaspoon black pepper
1/2 teaspoon fennel seeds (saunf)
1 ½ cup baby spinach leaves (palak)

Method
Mix paneer, yogurt, turmeric and salt. Set aside.
In a frying pan over medium heat, dry roast nigella, coriander seeds, fenugreek seeds, fennel seeds, and black pepper for 1-2 minutes. Seeds will become darker in color and give off a beautiful aroma.
Crush the roasted seeds using a mortar or rolling pin.  Set aside.
Add oil to the same pan, at low-medium heat.  Roast red chilies till they turn a darker color.  Remove from pan and break each one into 2-3 pieces.
Increase to medium heat; add asafetida, followed by paneer mixture.   Stir fry for 3-4 minutes until most of the moisture has evaporated.  Do not overcook the paneer as it will become dry. The yogurt should coat the paneer nicely so it remains moist. Turn off the heat.
Add all the dry spices and mix well.
Serve warm achari paneer over a bed of spinach leaves.
Tips
Achari paneer can be made in advance and refrigerated up to a week.   However, it tastes best when served warm.

Almond brittle also known as Chikki in India this is quick and easy recipe to make. This old fashioned candy every body will enjoy.
Recipe will make about 12oz.
Ingredients:
2 tablespoons butter
1 cup sugar
1/8 teaspoon salt
1/2 cup sliced almonds
1 tablespoons sesame seeds roasted

Method
Grease about 8×10 cookie sheet and keep aside.
In a heavy bottom sauce pan, over medium high heat melt the butter, then add sugar, and salt.
Keep stirring the sugar continuously till sugar start melting and changing the color to light brown. Turn off the heat as soon it comes to golden brown in color. This should take 4-5 minutes. Note: when sugar starts melting it changes the color very quickly and it can easily burn.
Add almonds and sesame seeds, stir quickly. Pour over the greased sheet and spread evenly.
After brittle comes to room temperature brake them in pieces.
Store them in air tight container.
Suggestions
Almond Brittle makes a delicious homemade gift. Pack it in a jar or candy bag.
Garnish ice cream and kheer to give a gourmet look with few pieces of Brittle.

Almond Walnut Cashew Burfi is a healthy, quality substitute for candy that your entire family will enjoy.
Recipe will make 24 pieces.
Almond Cashew Burfi
Ingredients:
1/2 cup almonds
1/2 cup walnuts
1/2 cup cashew nuts
1 1/4 cup sugar
1/2 cup water
1/2 teaspoon cardamom powder
1 tablespoon sliced almonds to garnish

Method
Dry grind the walnuts, cashews and almonds in a food processor.
Dry roast the groundnuts in a frying pan on low medium heat.
Roast them just enough so that the nuts start to give off an aroma. It will take about 4 to 5 minutes. Remove from heat and set aside.
Put the sugar and water together in a saucepan on medium heat. Bring to a boil to make the 1 thread syrup or on the candy thermometer it should reach 230 degrees F.
Turn off the heat and stir in the cardamom powder.
Add the nuts to the syrup and mix, and then spread over a greased 8-inch plate. Note: don’t let the syrup cool off. It must be spread while still hot.
Wait a few minutes until burfi is set but still soft.
Then cut the burfi into any shape you like (such as square, diamond, triangle).
Garnish each piece of burfi with sliced almonds while the burfi is still soft.
Allow the burfi to cool for about an hour to dry and hold its shape. Now you can remove the burfi from the plate.
Burfi can be stored for a month.
Variations
Proportion of nuts can be changed to your choice.
You may also add pistachios and coconut powder.

Images Of Indian Food Indian Food Recipes Images Thali Menu Photography Calorie Chart Items Pictures Photos

Images Of Indian Food Indian Food Recipes Images Thali Menu Photography Calorie Chart Items Pictures Photos

Images Of Indian Food Indian Food Recipes Images Thali Menu Photography Calorie Chart Items Pictures Photos

Images Of Indian Food Indian Food Recipes Images Thali Menu Photography Calorie Chart Items Pictures Photos

Images Of Indian Food Indian Food Recipes Images Thali Menu Photography Calorie Chart Items Pictures Photos

Images Of Indian Food Indian Food Recipes Images Thali Menu Photography Calorie Chart Items Pictures Photos

Images Of Indian Food Indian Food Recipes Images Thali Menu Photography Calorie Chart Items Pictures Photos

Images Of Indian Food Indian Food Recipes Images Thali Menu Photography Calorie Chart Items Pictures Photos

Images Of Indian Food Indian Food Recipes Images Thali Menu Photography Calorie Chart Items Pictures Photos

Images Of Indian Food Indian Food Recipes Images Thali Menu Photography Calorie Chart Items Pictures Photos

Images Of Indian Food Indian Food Recipes Images Thali Menu Photography Calorie Chart Items Pictures Photos